
A forklift hydraulic fluid leak is never “just a mess.” It can turn into lost lift power, unsafe handling, damaged components, and unplanned downtime fast. In this guide, we’ll walk through what we should do the moment we spot a leak, how to inspect the system safely, and the most common leak sources on off-road/material-handling forklifts—so we can fix the root cause instead of topping off fluid and hoping for the best.
Why Do Hydraulic Leaks Matter?
Forklifts rely on hydraulic pressure for the functions that keep work moving: lifting, tilting, and often steering. When fluid escapes, don’t just lose oil—you should lose pressure stability. That creates risks in four areas:
1) Safety risks
- Slip hazard: Oil on concrete is a fall risk for operators and pedestrians.
- Unstable handling: Low pressure can make lift/tilt response slow or uneven, raising the risk of load shift.
- Fire risk: Hydraulic oil can ignite under the wrong conditions, especially if it mists near heat/sparks.
2) Performance loss
A small hydraulic fluid leak can cause:
- Reduced lift speed
- Reduced lift capacity (or struggling near normal loads)
- Mast drift or tilt drift
- Noisy pump (whine) from aeration/air ingestion
3) Cost and downtime
- Frequent top-offs add up.
- Low fluid can overheat the system and accelerate pump wear.
- A leak that starts at a seal can become a scored rod, damaged gland, or contaminated system—turning a small fix into a bigger repair.
4) Facility and compliance concerns
Even off-road/material-handling operations often have internal rules for spills and cleanup. Leaks can also damage floors and create ongoing housekeeping costs.
Transitioning from “why it matters” to “what you do next,” the goal is simple: make it safe, find the source, fix it correctly, and prevent a repeat.
What to Do for a Forklift Leaking Hydraulic Fluid?
This is the main playbook you can follow on-site. It’s written for owners, supervisors, and techs who need a practical process—not guesswork. A key part of that process is minimizing downtime, which depends on having quick access to the correct forklift parts—whether it’s a simple seal, a new hose, or a hydraulic fitting—to complete the repair efficiently and get your equipment back to work.
Step 1: Stop the operation and secure the forklift
If you see active drips, wet hoses, or a puddle:
- Park on a level surface.
- Lower forks to the ground.
- Neutral controls, set parking brake, shut down.
- Remove the key and tag it out if your site uses LOTO.
Why you do this: continuing to operate can pull air into the system, drop pressure under load, and spread oil across the work zone.
Step 2: Control the spill
- Place absorbent pads or oil-dry under the suspected area.
- Block off foot traffic near the spill.
- Clean the floor thoroughly once the leak is contained.
Tip: If the forklift is leaking near the mast, check for fluid running down channels and dripping at a different point than the real source. Leaks often “travel.”
Step 3: Depressurize and let components cool
Hydraulic fluid can be hot, and hydraulic systems can stay pressurized. Before touching anything:
- Let the machine cool.
- Cycle lift/tilt controls (per your service guidance) to relieve residual pressure.
Safety note: High-pressure fluid can penetrate skin through tiny pinhole leaks.
Step 4: Confirm it’s hydraulic fluid
Forklifts may have other fluids, so you should verify:
- color and feel (hydraulic oil is typically slick and lighter than gear oil)
- location (mast/cylinders/valves vs. engine area)
- smell and thickness
If you’re not sure, don’t mix fluids—identify first.
Step 5: Check fluid level and fluid condition
With the forklift secured:
- Check reservoir level (don’t overfill).
- Look at the fluid condition:
- Foamy fluid can suggest air ingestion.
- Milky fluid can suggest water contamination.
- Dark/gritty fluid suggests contamination and wear debris.
If fluid is contaminated, fixing the external leak alone may not restore reliable operation—contamination can keep damaging seals and valves.
Step 6: Clean the suspect areas for a clearer inspection
Leaks are hard to trace on a dirty machine. A quick clean helps:
- wipe down hoses, fittings, valve body, cylinder glands, and lines,
- remove built-up grime where oil can hide
Once the area is clean, even a small seep becomes visible.
Step 7: Inspect in the most likely order
you can find leaks more quickly by following the “most common” path:
1. Hoses and flexible lines
Look for cracks, abrasion, bulges, wet spots, and rub points.
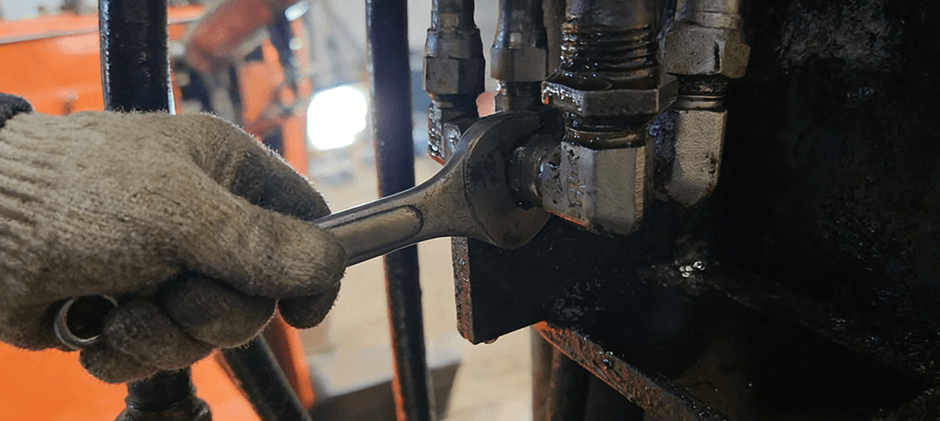
2. Fittings and connections
Check for looseness, damaged flare faces, and seepage rings around threads.
3. Cylinders (lift/tilt/steer)
- Oil on the rod or collecting at the gland often points to seal issues
- Check for rod pitting or scoring (this can ruin new seals quickly)
4. Control valve area
Wetness around spool ends, plugs, or valve block joints can indicate seal failure.
5. Filters and filter heads/brackets
A loose filter, damaged O-ring, or cracked housing can leak under flow.
6. Steel lines
Look for corrosion, dents, and vibration wear where clamps are missing.
Step 8: Test carefully under the function
Some leaks appear only under pressure and movement. If your procedure and site rules allow:
- Start the forklift
- Operate the lift/tilt slowly while observing from a safe position
- Never place hands near suspected pinhole leaks
If the leak rate increases under load, that’s a strong clue for a pressurized circuit leak (hose/fitting/valve/cylinder seal).
Step 9: Decide: reseal, replace, or rebuild
Temporary measures may move the forklift to a service spot, but they should not become the normal operation. For a dependable fix:
- Replace cracked hoses, damaged fittings, and compromised lines.
- Reseal/rebuild cylinders if seals are worn, but hard parts are in good condition.
- Replace the cylinder if rod damage, barrel scoring, or major wear makes rebuilding uneconomical.
If the leak points to a cylinder, sourcing the correct replacement or rebuild parts matters. This is where having a focused parts catalog helps—see hydraulic cylinder for forklift and off-road equipment cylinder options and related components.
Step 10: After the repair, verify and prevent a repeat
Once you usually find leaks more quickly by following the “most common” path: fix the leak:
- Refill to the correct level (no overfill)
- Bleed/settle air if your procedure requires it
- Check again for seepage after a short run
- Log the repair (hours, location, part replaced, fluid added)
And if multiple components show wetness, we should assume the system has been running hot or contaminated—and schedule a broader check instead of chasing leaks one-by-one.
For broader system service items (pumps, valves, hoses, connectors), browsing a complete hydraulic category can save time—see hydraulic & pneumatic parts.
Common Causes of Hydraulic Leaking
Now that we’ve covered what to do, let’s pin down why it happened. Most forklift hydraulic fluid leak cases fall into these root causes:
1) Hose wear, abrasion, and age cracking
Forklift hoses flex and vibrate constantly, and they often rub against mast structures or guards. Common signs:
- shiny “rub” marks
- cracking near bends
- dampness at crimped ends
Prevention: correct routing, proper clamps, and replacing hoses before they fail.
2) Loose, mismatched, or over-tightened fittings
Leaks at fittings are often caused by:
- vibration loosening a connection
- damaged sealing surfaces
- wrong fitting type or incorrect assembly
- over-torque deforming sealing faces
Field reality: “tightening until it stops leaking” can work once, then fail harder later. Correct torque and the correct sealing method matter.
3) Cylinder seal wear
Cylinders are frequent leak points because seals live in a hard environment:
- dust contamination
- side load and mast movement
- rod damage (pitting/scoring) that cuts seals
What we might see:
- oil film on cylinder rods
- dripping at the gland area when extended
- mast drift or tilt drift paired with external seepage
If you’re chasing recurring leaks at the same cylinder, you should inspect the rod surface—new seals won’t survive on a damaged rod.
4) Control valve leaks
Valve blocks can leak at:
- spool end seals
- plugs and test ports
- block-to-body sealing surfaces
These leaks may be slow at idle but worsen when functions are activated.
5) Filter head/housing issues and restricted flow
A restricted filter can increase differential pressure and stress seals and housings. Leaks show up around:
- filter gasket/O-ring
- filter head seals
- bracket or housing cracks
Good practice: replace filters on schedule and use the correct spec so flow isn’t restricted.
6) Hydraulic Fluid contamination and overheating
Contamination is a leak multiplier:
- It wears pumps and valves
- It degrades seals
- It can create heat, which hardens rubber and increases seepage
Common contamination sources:
- dirty fill practices
- water ingress
- worn hoses shedding material internally
- missing breather maintenance
7) Physical damage to steel lines or components
In off-road/material handling zones, impacts happen. A small dent can become a crack, especially when combined with vibration.
Quick reference table
| What you notice | Likely source | What you check first | Typical fix |
|---|---|---|---|
| Puddle under the mast area | Lift/tilt cylinder seals, hose near mast | Clean + inspect rods/glands + hose rub points | Reseal/rebuild cylinder or replace hose |
| Oil on cylinder rod | Rod seal/wiper, rod damage | Check the rod for pitting/scoring | Seal kit or cylinder repair/replace |
| Wet fitting, slow seep | Loose-fitting or damaged sealing face | Correct fitting type + torque + sealing surface | Retorque correctly or replace the fitting |
| Pump whine + low level | Air ingestion from a leak, low fluid | Check the suction side, hoses, and reservoir level | Fix leak + refill + recheck |
| Oil around the valve body | Spool end seals or plugs | Look for wetness lines after cleaning | Reseal valve area / replace seals |
| Frequent top-offs, no obvious puddle | Small pinhole spray, hidden drip path | Inspect under load; check hoses for misting | Replace the hose/line |
Conclusion
A forklift hydraulic fluid leak can quickly become a safety risk, a performance issue, and a costly downtime event. Our best move is to stop operation, contain the spill, depressurize, then inspect hoses, fittings, cylinders, valves, and filters in a clean, logical order. Fixing the root cause—and replacing worn parts on time—prevents repeat leaks. As an aftermarket parts supplier, FridayParts offers high-quality products at affordable prices, a vast inventory, and wide compatibility across many heavy equipment brands.