
An engine in your heavy machinery includes many parts; a rocker arm is one of them. It is a mechanical component in an internal combustion engine and has a wide application on engines without overhead camshafts. It acts as a lever, converting the camshaft’s rotational movement into the up-and-down motion needed to open and close the engine’s intake and exhaust valves.
A proper rocker arm plays an important role in keeping the engine running smoothly. A bad one causes serious drivability issues. If it is loose or broken, it disrupts valve operation, thus directly impacting the engine’s performance.
In this blog, we will focus on the signs of damage to the rocker arms, and practical suggestions will be provided for repair or replacement.
Signs of Rocker Arm Failure
It is important to know these failure signs; if you ignore them, the bad one can render your vehicle undrivable. Here are some notable signs:
Engine Misfire
Many component failures could lead to engine fire. For example, Worn or damaged spark plugs can fail to ignite the air-fuel mixture properly. Also, Clogged or leaking fuel injectors can disrupt the fuel supply to the engine……A failed rocker arm is one of the many reasons. Since it helps control the engine’s fuel combustion, a damaged one can lead to misfires or engine stalling, affecting overall performance.
Clicking or Ticking Noises
If you search for rocker arm issues online, it is not hard to find that many forum posts are discussing the abnormal noises. One of the most common bad signs is a clicking or ticking noise coming from the engine. This sound often comes from the top of the engine. However, other components, like the hydraulic lifter, can produce similar noises, so it’s best to have a mechanic inspect it for a proper diagnosis.
Illuminated Check Engine Light
A damaged rocker arm may trigger the check engine light. Trouble codes like P2647 and P2646, related to electronically controlled rocker arms, can indicate problems. It’s important to get the codes scanned to determine the exact issue.
3 Easy Ways to Fix Rocker Arm Problems
Fix 1: Re-check valve lash and hardware
Sometimes the problem is not a broken rocker—it’s a lash that’s out of spec or a fastener that backed off.
Do this first:
- Shut down, cool the engine, and follow lockout/tagout safety.
- Remove the valve cover.
- Inspect each rocker for looseness, abnormal wear marks, and correct pushrod seating.
- Verify valve lash/clearance per the engine service manual.
- Re-torque rocker hardware to the OEM spec (torque values vary a lot by engine).
When this works: early ticking, light misfire feel, or post-maintenance noise where nothing is physically damaged.
When to stop: if you find a bent pushrod, cracked rocker, broken adjuster, or a rocker pedestal that won’t torque because the threads are pulling.
Fix 2: Replace the rocker arm
If the rocker arm is worn, cracked, or the contact surfaces are damaged, replacement is usually the right move.
Replace as a set when needed (depends on design and wear):
- the damaged rocker arm
- pushrod (if bent or mushroomed)
- adjuster/locknut (if damaged)
- rocker shaft/pedestal parts (if scored)
- related gaskets (valve cover gasket, etc.)
Best practice: Keep parts organized by cylinder/location. Mixing components can change wear patterns and lash behavior.
Fix3: Repair stripped rocker arm bolt threads
Thread damage is common on high-hour machines—especially when bolts are over-torqued, installed dirty, or removed/installed repeatedly.
If a rocker stand/pedestal bolt hole strips, there are three realistic paths:
- thread insert repair (preferred when done correctly)
- oversized insert / larger thread conversion (when standard repair won’t hold)
- component replacement (head/stand, depending on design and severity)
Why are solid inserts often chosen for this job?
A solid insert provides a strong, stable internal thread and helps restore clamp load on the rocker stand. The Time-Sert site provides installation videos for screw thread inserts and also offers printable bolt size charts (metric and inch) to help confirm what you’re working with.
Also, suppliers like Mechanics Tools & Bits stock a wide range of Time-Sert metric kits and inserts (many sizes) and provide customer support if you’re unsure which kit fits your thread size and pitch.
Key points to avoid failed repairs:
- Confirm the original bolt size and pitch before drilling/tapping.
- Drill straight—misalignment can ruin the clamping surface and rocker geometry.
- Use the insert system’s full process (drill → counterbore/seat → tap → install/lock), not shortcuts.
- Keep the insert depth correct so the rocker stand sits flat and clamps fully.
When to choose this fix: bolts won’t torque, threads come out on the bolt, or the hole spins/strips during reassembly.
When NOT to DIY: if the hole was already drilled oversized incorrectly, the area is cracked, or you can’t ensure straight drilling/tapping. In these cases, the “quick fix” becomes a head replacement problem.
Replacing Rocker Arm (Step-by-Step)
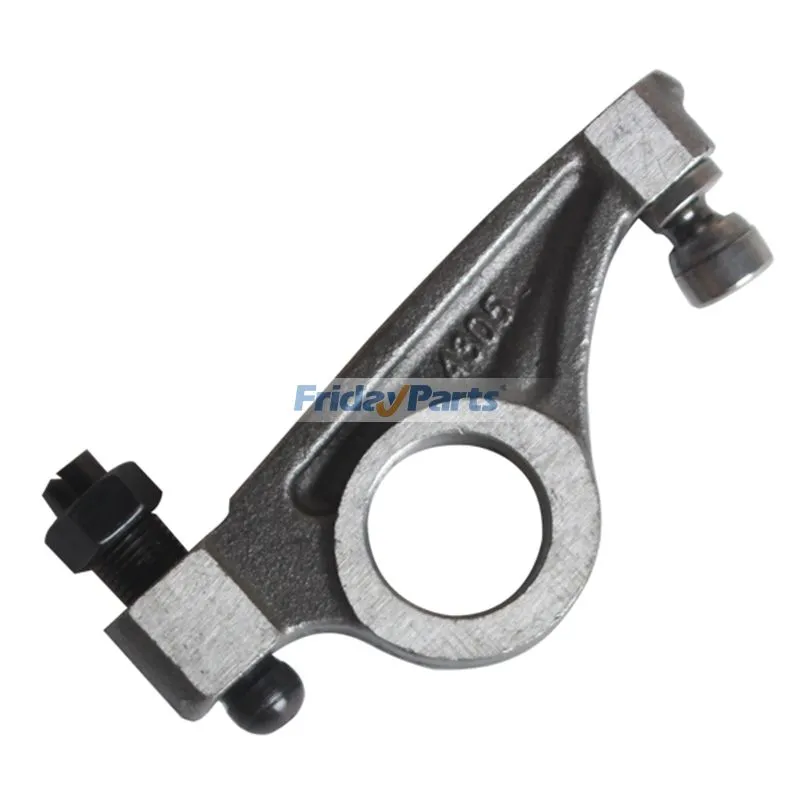
Before replacing, it’s important to identify the type you need. There are three main types based on how they’re made: forged, cast, and stamped steel. The forged is the strongest, featuring bushings and bearings to reduce friction and improve durability. Cast rocker arms are not as strong but are suitable for regular passenger vehicles and come at a lower cost. Stamped steel is the most lightweight and cost-effective option. Once you’ve identified the right type, you can move forward with the replacement.
Preparation
Tools:
- Wrenches
- Socket wrenches
- Screwdrivers
- New rocker arm
- Any other necessary accessory
1. Disconnect the Battery
To prevent accidental starting or electric shock, disconnecting the battery is one way to keep you safe.
2. Remove the Cylinder Head
Use your tools to carefully detach the cylinder head and expose the rocker arm assembly. Remember to keep all screws and gaskets safe during removal.
3. Check Components
After removing the cylinder head, inspect the rocker arm and push rod. If the push rod is worn or bent, replace it as well.
Replacing
1. Loosen Bolts
Start by loosening the bolts on the rocker arm bracket.
2. Replace
Loosen the screws of the rocker arm bracket, remove the old one, and install the new one. Make sure it is aligned with the valves and push rods during installation.
3. Adjust the Gap
Adjust the clearance between the rocker arms and the valves (if necessary). Refer to the vehicle’s service manual to determine the correct clearance value.
4. Reinstall the Cylinder Head
After completing the replacement, install the cylinder head and other removed parts in order, making sure all screws are securely in place.
5. Check and test
Reconnect the battery and start the engine to check for any abnormal noise or vibration. If there is any abnormality, it may be necessary to readjust the rocker arm clearance or check other related parts.
How Much Does It Cost to Replace It?
Speaking from a general industry perspective, on average, replacing a rocker’s arm typically costs between $500 and $1,500. This includes parts and labor. The rocker arm itself might cost anywhere from $15 to $100 per unit, but labor charges, which can range from $300 to $1,200, make up the bulk of the expense due to the time and complexity involved in accessing and replacing the part. But if you choose to DIY, You can save a bunch of money by following these repair steps above. Check out the rocker arm price list for your equipment.
Where to Buy Rocker Arm?
If you are looking for a cost-effective DIY solution, it is wise to get a high-grade rocker arm from FridayParts.com at competitive prices. With a wide range of heavy equipment types and brands for your consideration, so you can find what you need here and enjoy fast delivery.