
When an off-road machine throws a P0328 code, we usually have two urgent goals: stop the power loss/overheating risk and avoid wasting time swapping parts blindly. In this guide, we’ll explain what P0328 really means on heavy equipment, what typically causes it in harsh jobsite conditions (dust, heat, vibration, pressure washing), what you’ll notice in real operation, and a practical fix plan you can follow with a scan tool and basic electrical checks.
What Does the P0328 Code Mean?
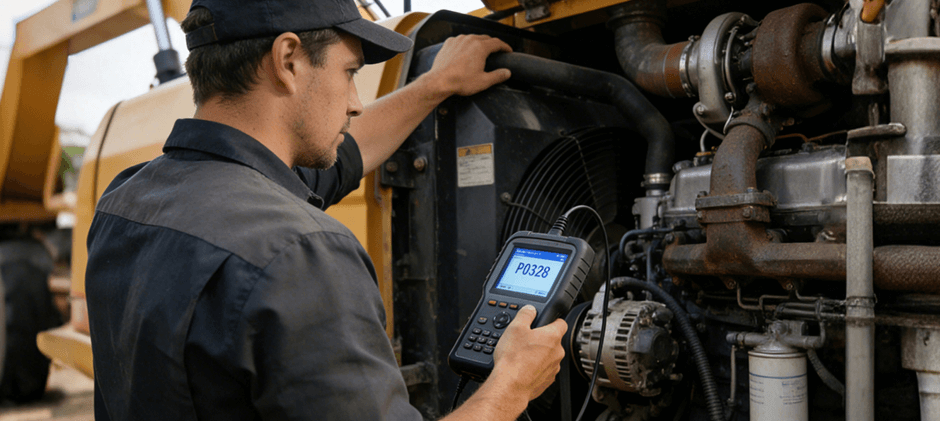
The P0328 code is a diagnostic trouble code that translates to: “Knock Sensor 1 Circuit High (Bank 1).”
In plain terms, the engine control module (ECM/PCM) is seeing a knock sensor signal voltage that is higher than the expected range for a certain time or under certain conditions.
What does the knock sensor do (off-road context)?
On spark-ignited off-road engines (gasoline, LPG, and some industrial spark engines), the knock sensor listens for engine “knock” (also called detonation/ping). It’s usually a piezoelectric sensor bolted to the engine block. When combustion becomes abnormal, vibrations in a specific frequency range increase, and the sensor outputs a voltage signal. The ECM uses that signal to adjust ignition timing (often retarding timing) to protect the engine.
What “Bank 1” means
- V engines have two banks. “Bank 1” is the side that includes cylinder #1.
- Inline engines typically have only one bank, but the code description may still say “Bank 1” on generic scanners.
The Possible Causes of the P0328 Code
On heavy equipment, we see P0328 most often from a mix of harsh-environment wiring issues and real operating-condition problems. Here are the common causes, grouped in the way we troubleshoot them.
1) Knock sensor failure or incorrect installation
- Internal sensor damage (age, heat cycles, vibration)
- Cracked sensor body or contaminated mounting surface
- Incorrect mounting torque (too loose or too tight can change signal behavior.
- The wrong sensor type was used during the prior repair
2) Wiring/connector faults (very common off-road)
Off-road harnesses live a tough life. “Circuit high” can show up when the ECM sees an abnormally high signal due to:
- Corrosion or water intrusion in connectors (especially after pressure washing)
- The chafed harness is touching another circuit
- Broken shielding/grounding on the sensor wire (more electrical noise)
- Poor engine ground straps (create unstable reference signals)
- Rodent damage in stored equipment
3) Real knock caused by operating conditions
Even with a perfect sensor, abnormal combustion can push the signal high:
- Overheating (dirty radiator core, weak fan clutch/drive, low coolant)
- Lean air/fuel mixture (vacuum leaks on spark engines, restricted fuel delivery)
- Wrong fuel quality for the engine’s requirement
- Carbon deposits are creating hot spots and pre-ignition tendencies
- Lugging the engine (high load at low RPM), common in digging/pushing cycles
4) EGR/cooling system issues (where equipped)
Some industrial spark engines use EGR strategies or similar controls to manage combustion temperatures. If that system is not working, combustion temperature rises, and knock likelihood increases.
5) ECM/PCM issues (least common)
A control module fault is possible, but we treat it as last after confirming sensor power/ground/reference, wiring integrity, and real engine conditions.
Quick reference table (causes → checks → likely fixes)
| Likely cause | Fast check we can do | Typical fix | Risk if ignored |
|---|---|---|---|
| Water/corrosion in the connector | Visual inspection, wiggle test, look for green pins | Clean/repair the connector, seal properly | Intermittent misfires, derate, downtime |
| Chafed harness / bad ground | Inspect near clamps, engine edges; check grounds | Repair harness, restore shielding/grounds | Repeat faults, false knock events |
| Failed knock sensor | The tap test is not reliable; compare data if possible | Replace sensor, torque to spec | Poor timing control, knock damage risk |
| Overheating / cooling weakness | Check temps, radiator restriction, and fan operation | Restore cooling, clean core, repair components | Real detonation, head/gasket damage |
| Lean condition/fuel delivery issue | Fuel pressure/flow tests, air leaks | Fix restriction/leaks, restore fueling | Knock, piston damage in severe cases |
How to Fix the P0328 Code?
We fix P0328 fastest by following a sequence that rules out the most common failures first, while protecting the engine from continued knock.
Step 1: Protect the engine before troubleshooting
If the machine is pinging/knocking, overheating, or derating under load:
- Reduce load, avoid lugging
- Let the engine cool
- Do not keep “working through it” for hours
Step 2: Confirm the code and capture data
- Use a scan tool that properly supports your equipment’s engine controller.
- Record freeze-frame or snapshot data (RPM, coolant temp, load).
- Clear the code and run a controlled test (idle → light load → moderate load).
Tip for off-road fleets: If your machine is diesel and a generic reader shows P0328, confirm the code with the correct diagnostic path for that engine/controller. Some generic tools mislabel or misread data on certain systems.
Step 3: Inspect the knock sensor circuit (field-practical checks)
Most “circuit high” events on equipment come down to wiring and connectors.
What we check:
- Sensor connector fitment (fully seated, no broken lock tabs)
- Pin condition (bent, pushed back, corrosion)
- Harness routing (rubbing points, tight bends, melted sections near exhaust)
- Ground straps (engine-to-frame ground intact and tight)
- Signs of water intrusion (mud, moisture under the loom)
If you find corrosion or damaged terminals, fix that first and retest. A perfect new sensor won’t help if the connector is compromised.
Step 4: Verify sensor mounting and engine-side basics
- Confirm the sensor is mounted on the correct boss and tightened to the engine’s spec.
- Make sure the mounting surface is clean (no paint, heavy rust flakes, or debris under the sensor).
- Check for engine mechanical noise sources (loose brackets, cracked mounts) that can create vibration “noise” that confuses the sensor.
Step 5: Address real knock triggers (the “why” behind the signal)
If wiring looks good and the code returns under load, treat this as a possible real knock.
Cooling checks (high priority on jobsite machines):
- Radiator and oil cooler core restriction (dust, chaff, mud)
- Coolant level and leaks
- Fan drive operation and belts
- Thermostat and coolant circulation symptoms
Fuel/air checks (spark industrial engines):
- Air filter restriction and intake leaks
- Fuel supply restriction, weak pump, clogged filter
- Incorrect fuel type/quality for the engine requirement
Operating habit check:
- Stop lugging: downshift or reduce hydraulic demand so RPM stays in the correct work band. Lugging increases cylinder pressure and knock tendency.
Step 6: Replace the sensor only when it’s justified
If you’ve verified wiring/connector integrity and mounting, and you still get P0328, replacing the knock sensor is a reasonable next step. On many machines, it’s one of the most direct repairs—as long as the underlying cause is not overheating or lean operation.
Mid-repair is also a good time to review other related sensors that affect combustion and protection strategies (oil pressure switches, coolant temp sensors, speed sensors, NOx sensors on certain setups). If you need dependable replacements with broad equipment coverage, you can browse FridayParts sensors to match your machine and reduce guesswork.
Step 6: Confirm the repair (don’t skip this)
After repairs:
- Clear codes
- Warm up fully
- Run under typical load long enough to recreate the original condition
- Recheck for pending codes and watch coolant temp stability
Conclusion
The P0328 code means the knock sensor signal is reading abnormally high, often due to harsh-environment wiring issues or real knock caused by heat, load, or fueling problems. We fix it fastest by confirming the fault with the right scan tool, inspecting connectors and grounds, verifying sensor mounting, and correcting cooling/fuel/operating triggers before replacing parts. A careful test under real load is the final proof that the repair has been completed